
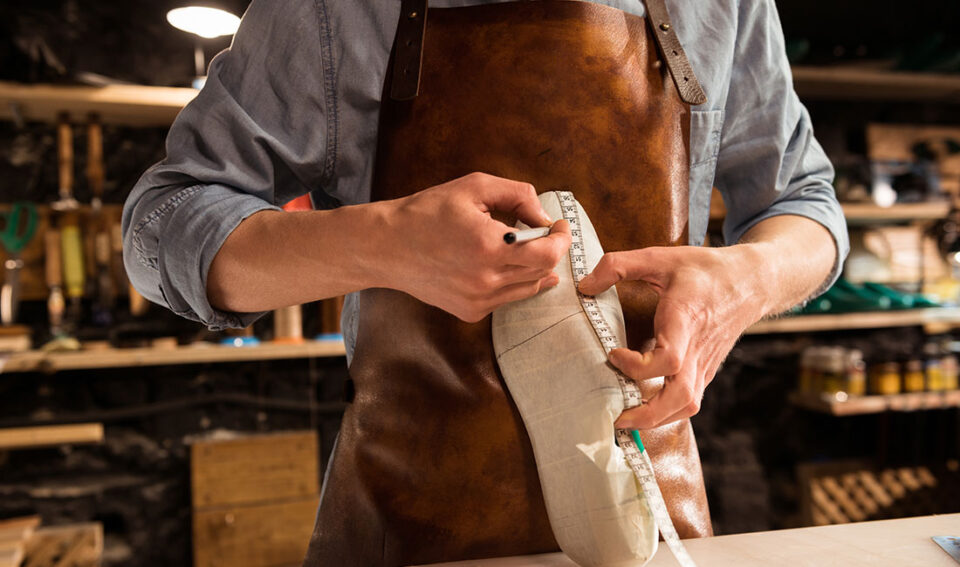
The shoe manufacturing process takes a shoe from sketch to shipped pair through design, tech pack, material sourcing, cutting, stitching, sole making, lasting, bonding, finishing, quality control, and packaging. Each step affects cost, lead time, fit, MOQ, and final quality.
This guide explains the full process in simple terms from a footwear production and quality-control point of view. It covers the main parts of a shoe, what happens before bulk production, how uppers and soles are made, why lasting matters, and how factories inspect and pack finished shoes. Readers will learn how shoes are built and which production choices can change price, comfort, and delivery time.
What Are the Main Parts of a Shoe?
A shoe has several main parts. The upper covers the top of the foot. It may include the vamp, quarter, tongue, and collar. The insole sits inside the shoe under the foot. The midsole adds cushioning. The outsole touches the ground and provides grip.
Other parts add support and shape. The heel counter supports the back of the foot. The shank supports the arch. The toe puff helps the front of the shoe keep its shape. These parts are usually made separately before final assembly.
The following table summarizes the key components and their functions:
| Component | Location | Primary Function |
| Upper (vamp, quarter, tongue) | Top of shoe | Covers and protects the foot |
| Insole | Interior bottom | Provides comfort underfoot |
| Midsole | Between insole and outsole | Absorbs shock and provides cushioning |
| Outsole | Bottom surface | Delivers traction and ground durability |
| Heel counter | Rear interior | Stabilizes the heel |
| Shank | Midfoot arch area | Supports arch structure |
| Toe puff | Front interior | Maintains toe shape |
Whether the end product is a high heel, sandal, boot, or sneaker, each of these components must be engineered, cut, and assembled with precision.
What Happens Before a Shoe Enters Production?
Before production starts, the brand prepares a tech pack. This document includes shoe sketches, material details, construction notes, and size rules. It helps the factory understand how the shoe should be made.
The factory also creates or selects a last. A last is the foot-shaped form that gives the shoe its shape and fit. Then a sample pair is made. The sample is tested, reviewed, and revised before bulk production begins.
What Is a Footwear Tech Pack and What Should It Include?
A footwear tech pack is the main guide for making a shoe. It connects the design idea to the factory process. It helps the factory understand the shape, materials, details, and packaging.
A good tech pack usually includes front, side, and back sketches. It also lists all materials, such as fabric, leather, thread, trims, labels, and packaging. It should include stitching details, reinforcement notes, logo placement, and size rules.
A clear tech pack can reduce sample mistakes. It can also help save time during product development. For startup brands, an ODM partner may help create this document from the beginning.
Step 1 — How Are Raw Materials Sourced and Inspected?
Factories order materials based on the tech pack. These materials may include leather, textile, synthetic materials, rubber, TPR, EVA, PU, linings, reinforcements, and adhesives.
When materials arrive, the factory checks them before use. Workers confirm the quantity and inspect the surface. They may also test flex strength, tear strength, and chemical safety. Only approved materials move into the warehouse.
Material choice has a major effect on shoe cost. It often makes up about 40–60% of the total manufacturing cost. This makes it one of the biggest cost factors for a shoe brand.
The following list outlines the most common material categories used across production:
- Upper materials: full-grain leather, suede, mesh textile, synthetic PU, recycled fabrics
- Outsole materials: natural rubber, TPR, EVA, PU, leather
- Linings and insoles: soft textile, moisture-wicking mesh, foam-padded linings
- Reinforcements: thermoplastic heel counters, toe puffs, shanks
- Adhesives: water-based glue (eco-friendly) or solvent-based cement (high-bond strength)
Sustainable and certified materials are increasingly important. Joes Footwear follows stringent ethical and environmental sourcing standards to meet the compliance requirements demanded by European and North American brands.
Step 2 — How Are Shoe Components Cut from Raw Materials?
Cutting is also called “clicking” in traditional shoemaking. For bulk production, factories often use steel dies and hydraulic presses. Laser cutters can create cleaner edges. Automated cutting machines can handle more complex pattern layouts. Skilled workers may still cut premium leather by hand. This helps them avoid natural marks in the hide and reduce waste.
For large orders, the factory makes a steel die for each pattern piece and size. One shoe style may need hundreds of dies. Workers can stack material layers and press-cut many pieces at the same time.
For smaller or custom orders, laser and CNC cutting machines offer more flexibility. They allow quick pattern changes without making new dies. After cutting, workers sort the pieces by size. They then group them into sewing kits so each stitching worker receives the correct parts.
Step 3 — What Preparation Steps Happen Between Cutting and Stitching?
After cutting, each component goes through several preparation steps. Skiving thins the edges so seams look clean. Marking adds guide points for assembly. These marks may use UV pens, notches, or silver refills. Some parts also need reinforcement lamination for added structure. Logos may be added through embossing, silk-screen printing, embroidery, or heat welding before stitching begins.
Skiving is very important for premium shoes. Thinner leather at seam points helps prevent bulky overlaps. It also gives the shoe a cleaner finished look. Assembly marks help the stitching worker place each part correctly. These marks may be visible guide lines or invisible UV marks. They help prevent crooked seams and misplaced panels.
Step 4 — How Are Shoe Uppers Stitched and Assembled?
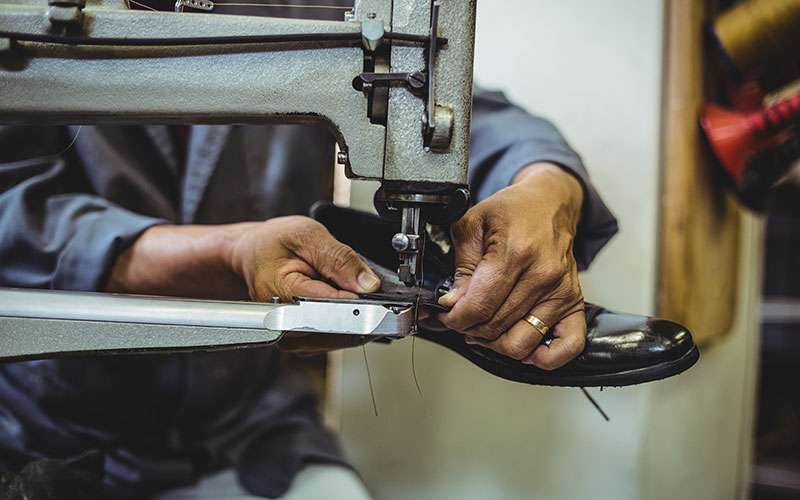
In the closing department, workers stitch the upper parts together. They may use post-bed, flatbed, and cylinder-arm sewing machines. These machines help attach upper panels to linings. Workers also add eyelets, hardware, foam collars, and heel counters. Each task is usually assigned to a specific worker. This makes it easier to trace quality issues if a problem appears.
A complex shoe may need many machines on the stitching line. Each machine often handles one task. Thread type and stitch density depend on the shoe’s use. Boots and outdoor shoes need stronger stitches. Dress shoes and heels often use finer stitches. Once the upper is fully assembled, it becomes a three-dimensional shape. It is then ready for lasting.
Step 5 — How Are Outsoles and Midsoles Manufactured?
Outsole and midsole production runs in parallel with upper assembly. Midsoles are formed through EVA injection molding or PU pouring for cushioning. Outsoles are shaped via rubber compression molding or TPU injection. Finished sole units are inspected before joining the main assembly line.
This parallel workflow is what keeps production timelines efficient. While the upper moves through cutting, preparation, and stitching, the sole department independently creates the bottom components. For sneakers, lightweight EVA midsoles with controlled density are standard. For fashion boots and heels, cemented leather or stacked outsoles are more common. Dual-density and multi-layer sole constructions add performance characteristics but require tighter mold tolerances.
Step 6 — How Is a Shoe Lasted and Why Is This the Most Critical Step?
Lasting pulls the stitched upper over a foot-shaped last to give the shoe its three-dimensional form. The upper is steamed to soften it, stretched tight against the last, then secured to the insole. The lasting method chosen — Strobel, board, slip, or force — determines fit, flexibility, and price tier.
The following table compares the most common lasting methods:
| Method | How It Works | Best For |
| Strobel | Upper stitched to a fabric insole board | Athletic shoes, sneakers |
| Board lasting | Upper pulled over a rigid fiberboard insole | Dress shoes, structured footwear |
| Slip lasting | Upper wrapped around the last without a board | Lightweight, flexible shoes |
| Force lasting | Mechanical stretching for tight-fit designs | High heels, narrow silhouettes |
Proper last-to-mold alignment is essential. If the lasted upper does not match the outsole mold dimensions precisely, the final bonding step may produce deformation or adhesion failures.
Step 7 — How Is the Outsole Bonded to the Upper?
Workers prepare the bonding surfaces before attaching the sole. They apply primer and roughen the surface with emery paper or steel brushes. This helps the glue hold better.
The lasted upper and outsole are then joined with adhesive. Factories may use water-based glue or solvent-based cement. After this, the shoe passes through a heat tunnel. Heat helps activate the glue. The shoe is then pressed so the upper and outsole bond firmly.
Cement construction is common, but it is not the only method. Other methods include Goodyear welt, Blake stitch, and vulcanization. Goodyear welt shoes use a stitched strip around the edge and can often be resoled. Blake stitch shoes have the sole stitched directly to the insole for a slimmer look. Vulcanized shoes use heat and pressure to bond rubber soles. The method affects price, durability, and repair options.
Step 8 — What Finishing Steps Turn an Assembled Shoe into a Retail-Ready Product?
Finishing turns the assembled shoe into a product ready for sale. Workers trim extra material, polish the surface, and smooth the edges. They may also insert sock liners, footbeds, and laces.
Some shoes receive waterproofing or protective coatings. For example, leather shoes may use wax-based finishes. Workers also fix small surface marks and check the overall appearance.
At this stage, the last is removed from the shoe. Inspectors then check each pair for shape, color, symmetry, and surface flaws. After this check, the shoe moves to final quality control.
Step 9 — How Does a Shoe Factory Inspect Quality Before Shipping?
Factories check quality during production and again at the end. In-line checks help find problems early. A final AQL inspection checks completed shoes before shipping.
Inspectors may test bond strength, flex resistance, color fastness, and size accuracy. Pairs with defects are either repaired or rejected. Good quality control helps reduce returns and protects customer trust.
Common defects include scratches, stains, uneven color, weak glue bonds, loose stitching, and wrong measurements. Other issues include sole separation during flex testing. A reliable factory should check quality at several stages, not only at the final inspection.
Step 10 — How Are Finished Shoes Packaged and Prepared for Export?
Each shoe is wrapped in tissue, paired with silica gel packets, and boxed with barcodes, size labels, and country-of-origin markings per retailer specifications. Cartons are marked for export compliance. Brands choose FOB, CIF, or DDP shipping terms, and sea freight is standard for bulk footwear orders.
Typical lead times break down as follows:
- Sampling: 2–4 weeks
- Bulk production: 45–75 days from purchase order
- Sea freight (China to US/EU): 25–35 days
Joes Footwear offers flexible MOQ as low as 100 pairs with a 45–75 day production cycle, making it accessible for both established brands and emerging designers.
How Is Technology Changing the Way Shoes Are Manufactured?
Technology is changing many parts of shoe production. CAD software helps factories make digital patterns instead of drawing them by hand. 3D modeling helps teams review shape, fit, and design before making a sample.
3D-printed lasts can make prototyping faster. Automated cutting machines can reduce material waste. Computer grading software can resize patterns across a full size range in minutes.
These tools can shorten lead times and improve consistency. However, they do not replace skilled workers. Shoe production still depends on trained people for fitting, stitching, lasting, finishing, and quality control.
For brands, a factory’s use of technology can show its ability to manage precision, scale, and speed. It is also important to review the factory’s craftsmanship, testing process, and quality control system.
FAQs
What is the difference between OEM and ODM in footwear manufacturing?
OEM means the brand provides the full design and technical details. The factory then makes the shoes based on those instructions.
ODM means the factory helps with more parts of the process. This may include design, pattern development, material selection, and sampling. ODM can be useful for brands that have an idea but do not yet have a complete tech pack.
How many operations does it take to make one pair of shoes?
The number depends on the shoe style and design. A simple shoe may need about 100 steps. A more complex shoe can need more than 300 steps.
Can a startup brand manufacture shoes with a low MOQ?
Yes. Some manufacturers offer lower minimum order quantities for new brands. This can help startups test a style before placing a larger order.
Startup brands should still check unit cost, sampling fees, lead time, and production limits. A low MOQ can reduce risk, but it may also come with a higher cost per pair.
What is Strobel construction vs. cement construction?
Strobel construction stitches the upper to a fabric insole. This makes the shoe lighter and more flexible. It is common in athletic shoes and some casual shoes.
Cement construction uses adhesive to bond the upper to the outsole. It is used across many shoe types because it is flexible for production. It is common in fashion shoes, casual shoes, and many everyday styles.